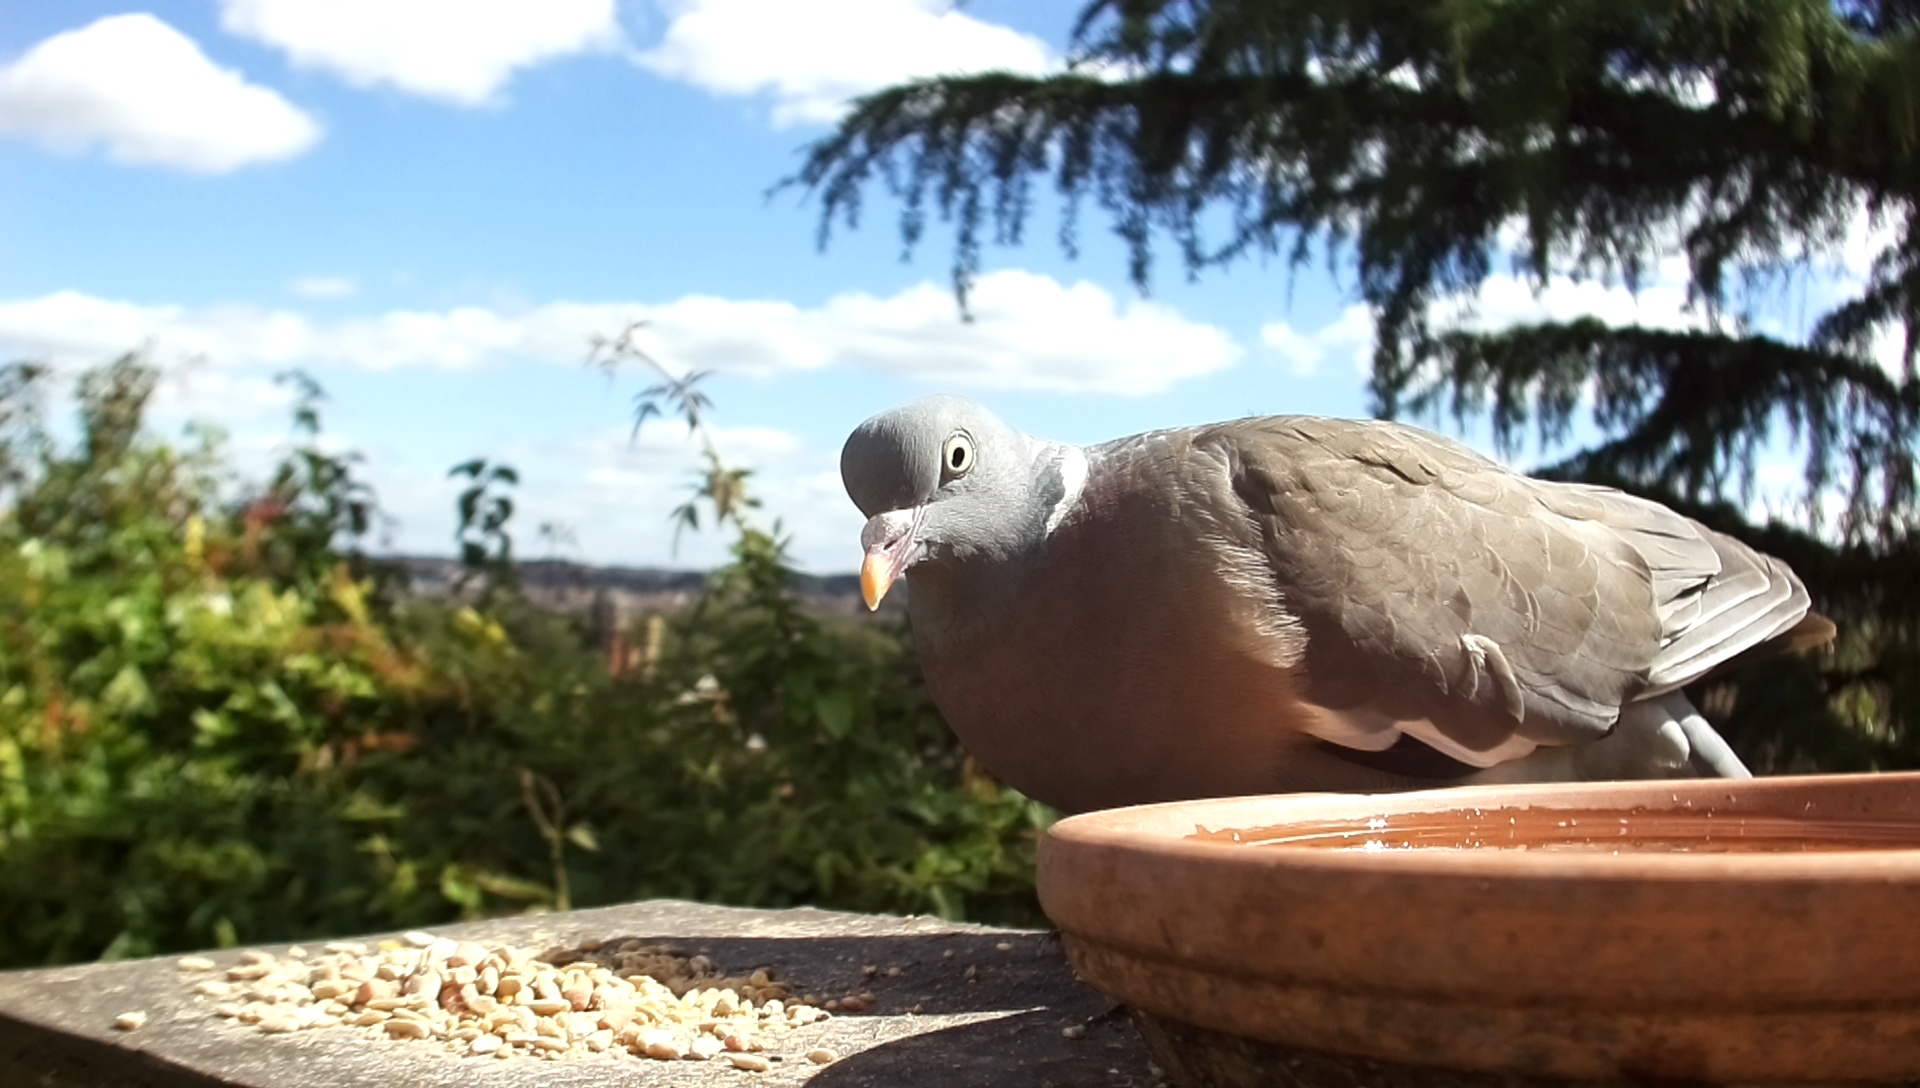
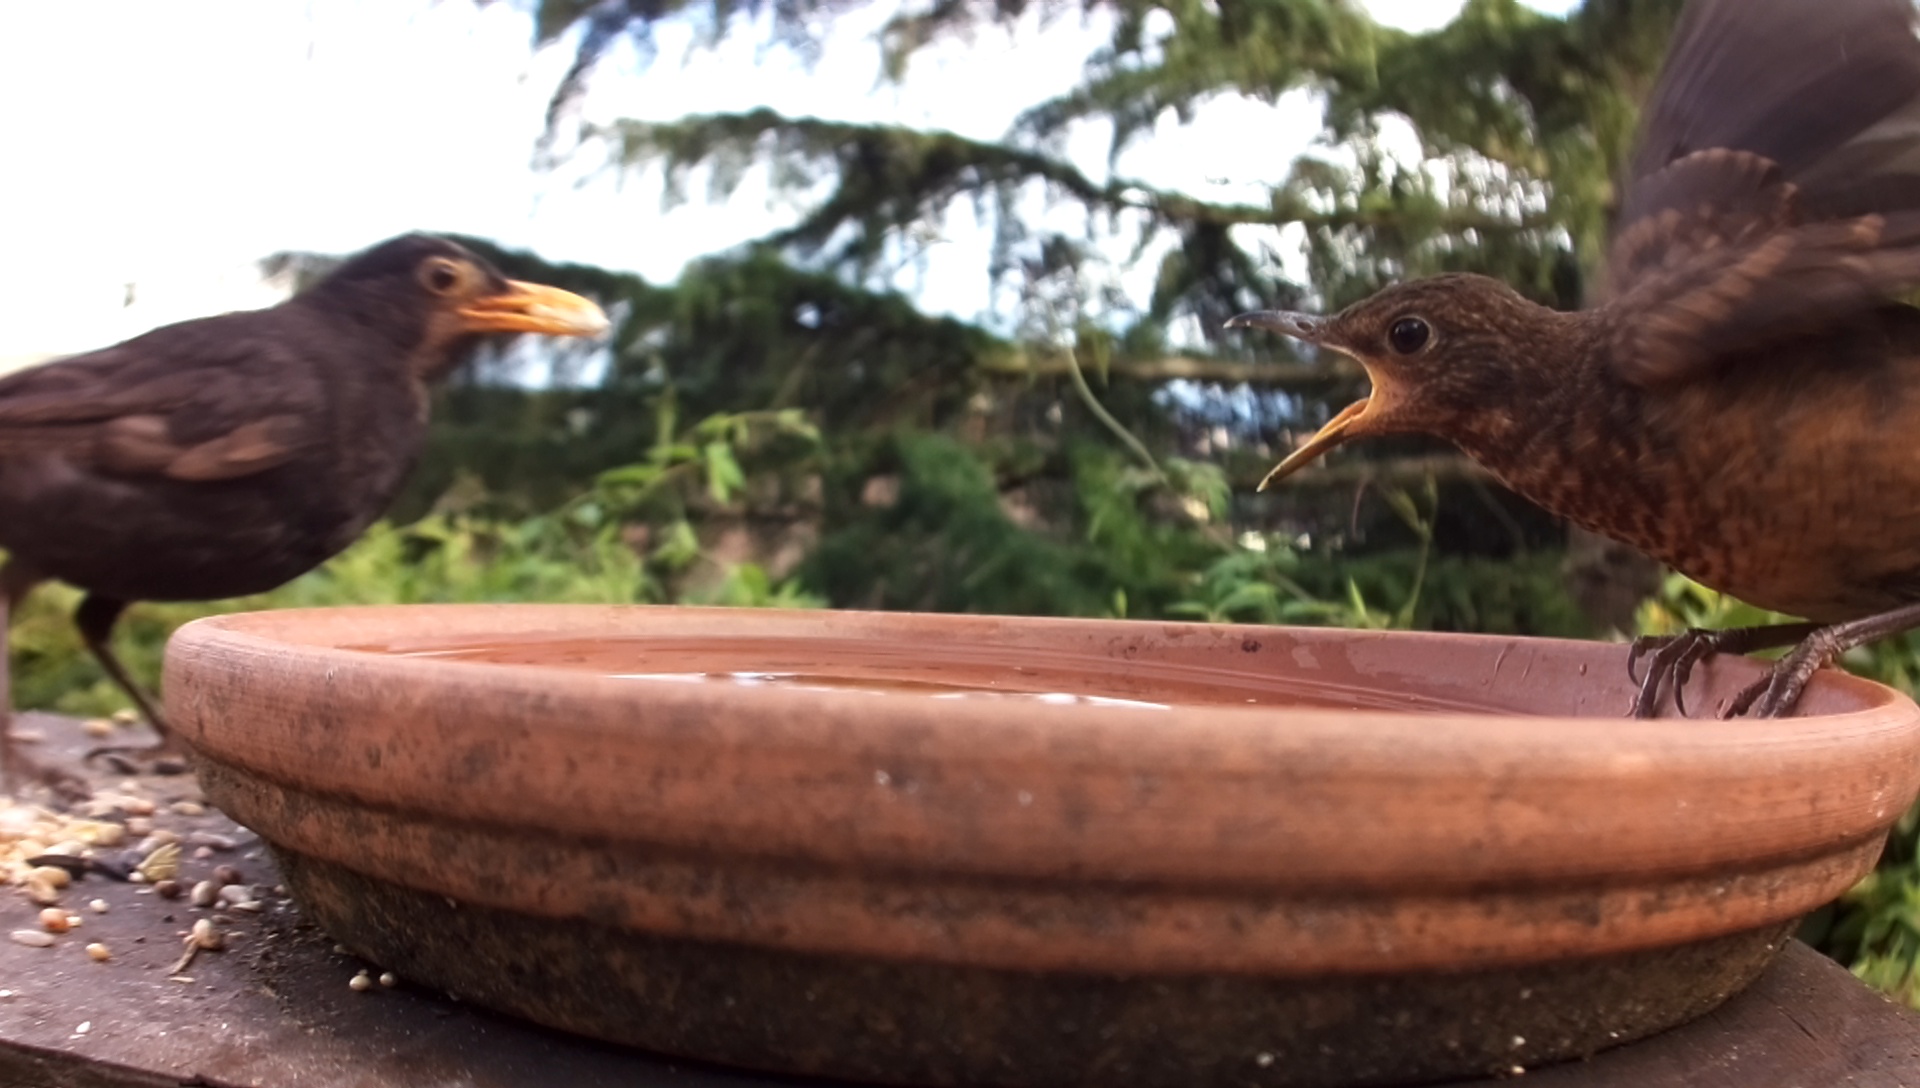
MyNatureWatch with a High Quality Raspberry Pi camera
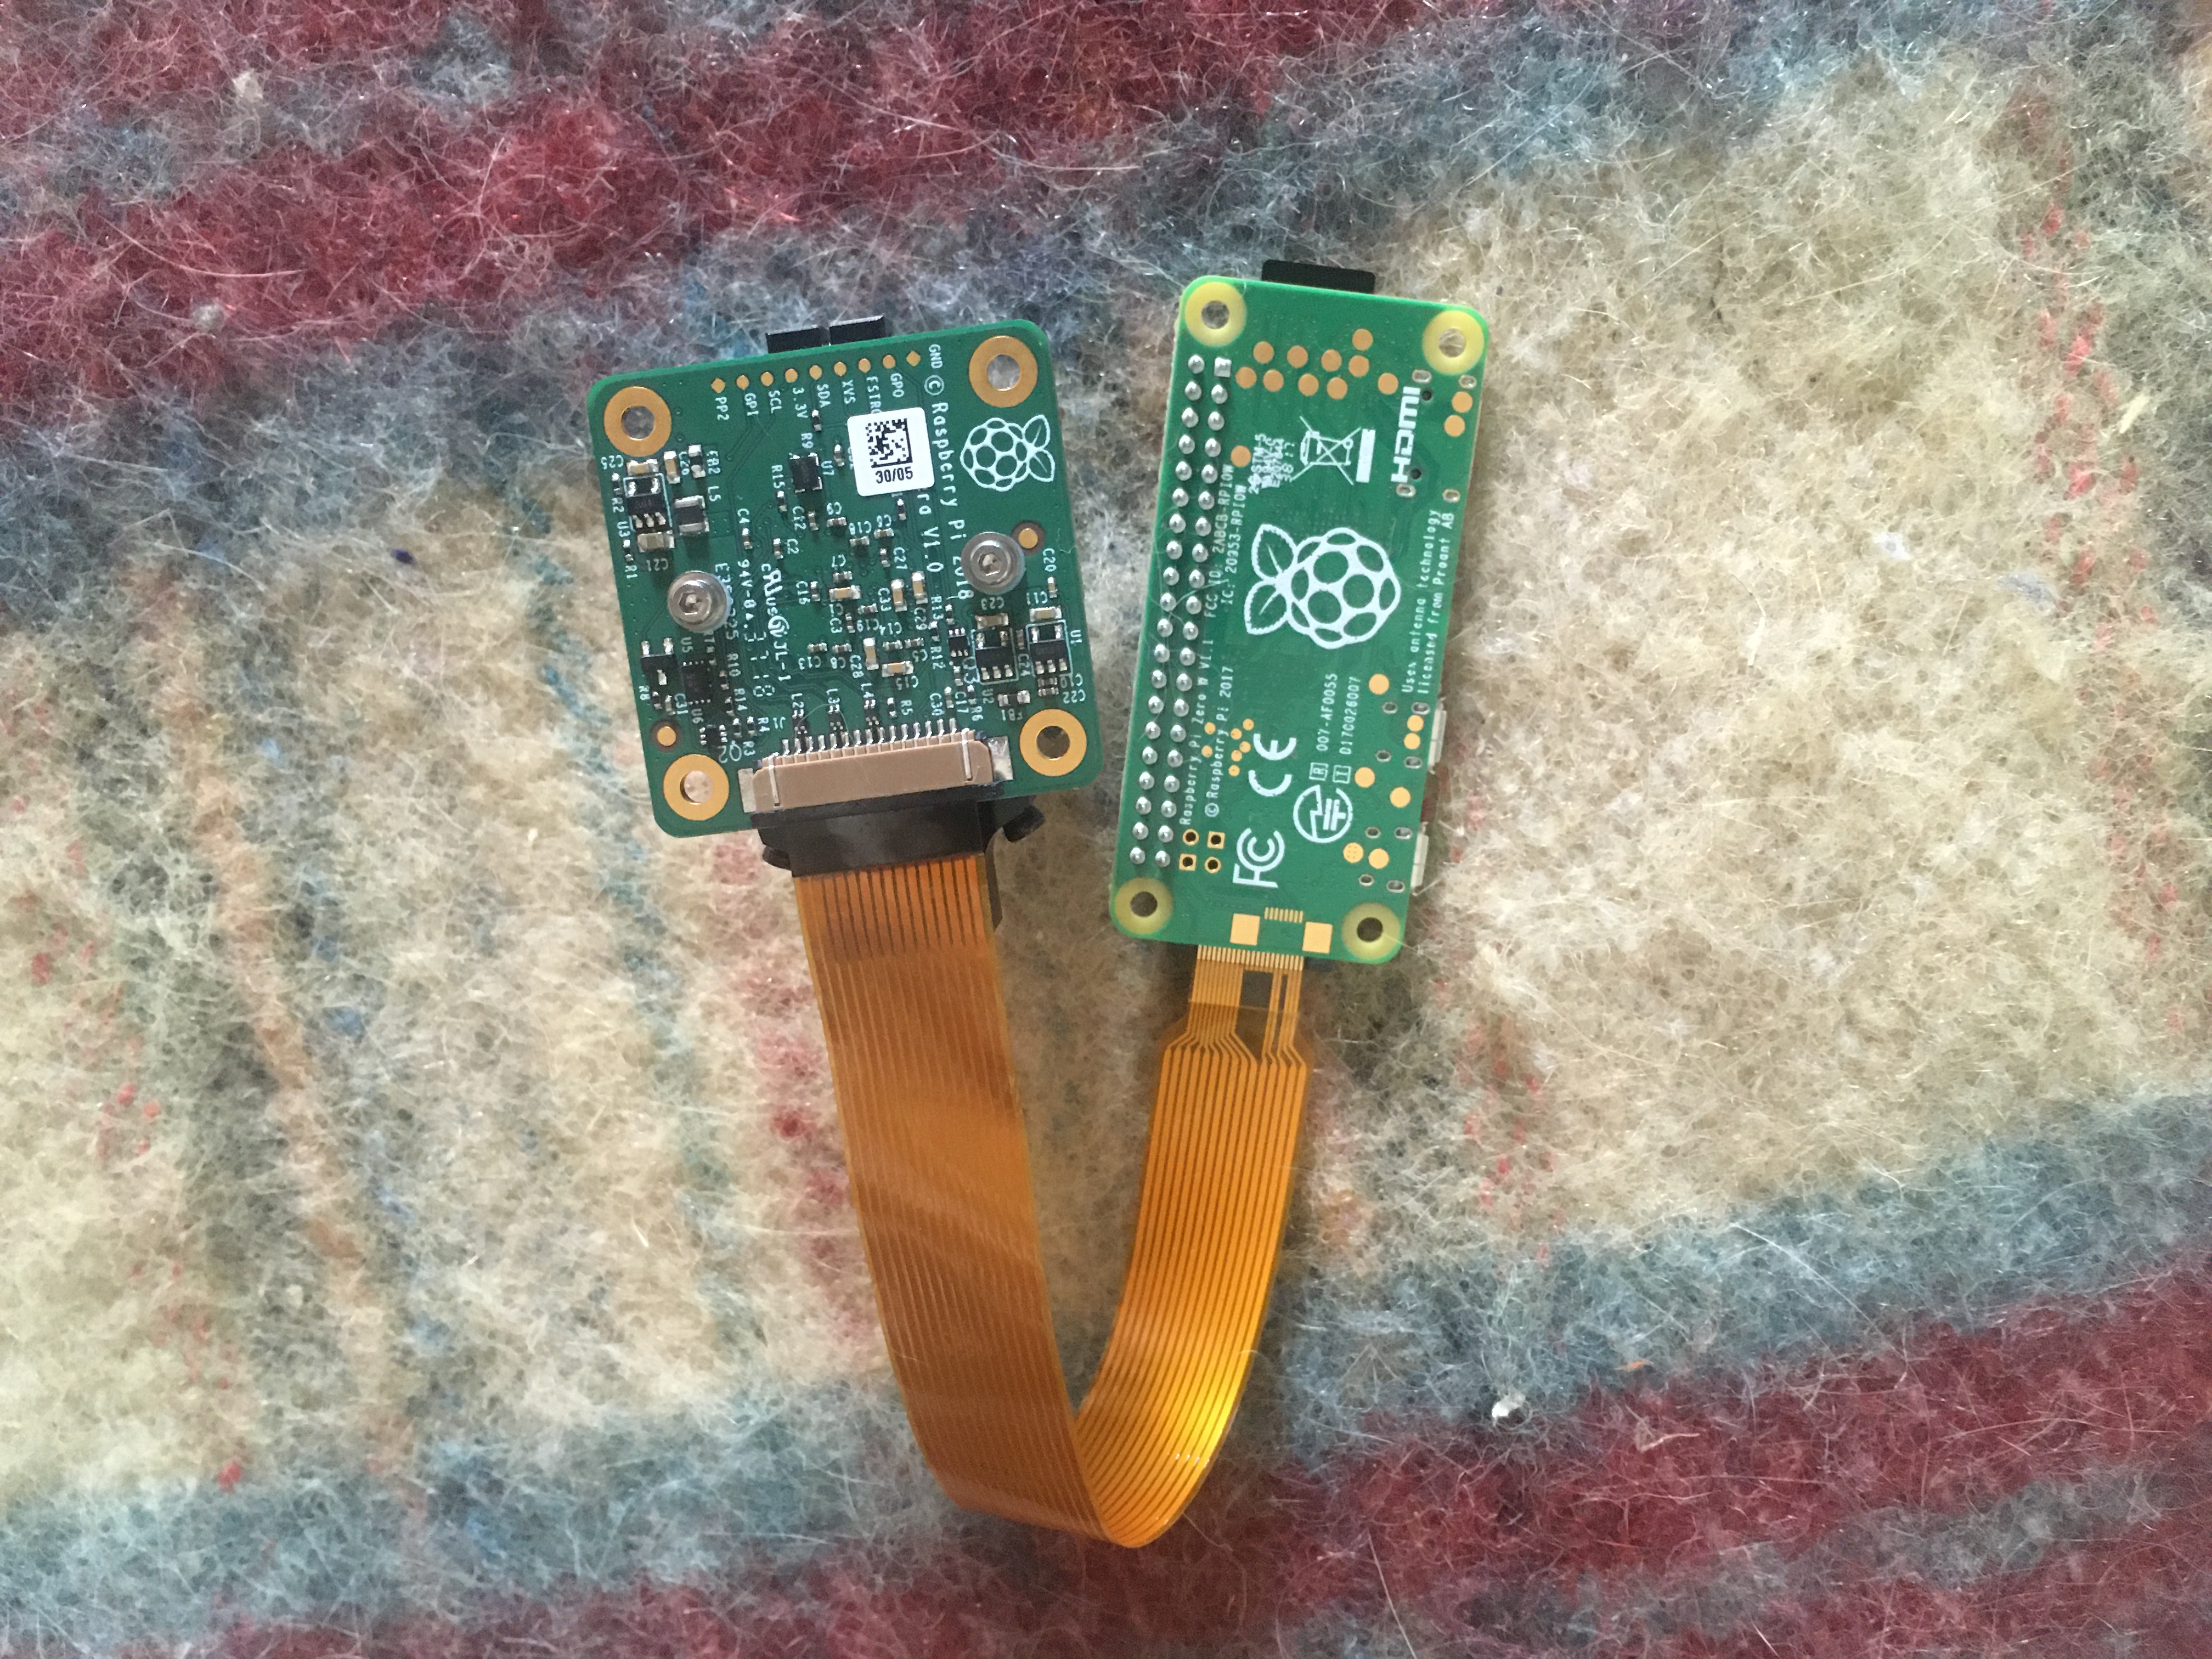
I’ve been using MyNatureWatch setup on my bird table for ages now, and I really love it (you should try it). The standard setup is with a pi zero (though it works fine with other versions of the Pi too). I’ve used the recommended, very cheap, pi zero camera with it, and also the usual pi camera (you can fit it to a zero using a special cable). I got myself one of the newish high quality Pi cameras (you need a lens too, I got this one) to see if I could get some better pics.
I could!
I was asked on twitter how easy it is to set up with the HQ camera, so here are some quick notes on how I did it. Short answer – if you use the a recent version of the MyNatureWatch downloadable image it works just fine with no changes. If you are on the older version, you need to upgrade it, which is a bit fiddly because of the way it works (it creates its own wifi access point that you can connect to, so it’s never usually online). It’s perfectly doable with some fiddling, but you need to share your laptop’s network and use ssh.
Update (May 2022) – I’d just suggest using a newish release of MyNatureWatch, which works perfectly.
MyNatureWatch Beta – this is much the easiest option. The beta is downloadable here (more details) and was some cool new features such as video. Just install as usual and connect the HQ camera using the zero cable (you’ll have to buy this separately, the HQ camera comes with an ordinary cable). It is a beta and I had a networking problem with it the first time I installed it (the second time it was fine). You could always put it on a new SD card if you don’t want to blat a working installation. Pimoroni have 32GB cards for £9.
The only fiddly bit after that is adjusting the focus. If you are not used to it, the high quality camera CCTV lens is a bit confusing, but it’s possible to lock all the rings so that you can set the focus while it’s in a less awkward position if you like. Here are the instructions for that (pages 9 and 10).
MyNatureWatch older version – to make this work with the HQ camera you’ll need to be comfortable with sharing your computer’s network over USB, and with using ssh. Download the img here, and install on an SD card as usual. Then, connect the camera to the zero using the zero cable (we’ll need it connected to check things are working).
Next, share your network with the Pi. On a mac it’s like this:

You might not have the RNDIS/Ethernet gadget option there on yours – I just ticked all of them the first time and *handwave* it worked after a couple of tries.
Now connect your zero to your laptop using the zero’s USB port (not its power port) – we’re going to be using the zero as a gadget (which the MyNatureWatch people have already kindly set up for you).
Once it’s powered up as usual, use ssh to login to the pi, like this:
ssh pi@camera.local
password: badgersandfoxes
On a mac, you can always ssh in but can’t necessarily reach the internet from the device. Test that the internet works like this:
ping www.google.com
This sort of thing means it’s working:
PING www.google.com (216.58.204.228) 56(84) bytes of data.
64 bytes from lhr48s22-in-f4.1e100.net (216.58.204.228): icmp_seq=1 ttl=116 time=19.5 ms
64 bytes from lhr48s22-in-f4.1e100.net (216.58.204.228): icmp_seq=2 ttl=116 time=19.6 ms
If it just hangs, try unplugging the zero and trying again. I’ve no idea why it works sometimes and not others.
Once you have it working, stop mynaturewatch using the camera temporarily:
sudo systemctl stop nwcameraserver.service
and try taking a picture:
raspistill -o tmp.jpg
you should get this error:
mmal: Cannot read camera info, keeping the defaults for OV5647
mmal: mmal_vc_component_create: failed to create component 'vc.ril.camera' (1:ENOMEM)
mmal: mmal_component_create_core: could not create component 'vc.ril.camera' (1)
mmal: Failed to create camera component
mmal: main: Failed to create camera component
mmal: Camera is not detected. Please check carefully the camera module is installed correctly
Ok so now upgrade:
sudo apt-get update
sudo apt-get upgrade
you will get a warning about hostapd – click q when you see this. The whole upgrade took about 20 minutes for me.
When it’s done, reboot
sudo reboot
ssh in again, and test again if you want
sudo systemctl stop nwcameraserver.service
raspistill -o tmp.jpg
sudo systemctl unmask hostapd.service
sudo systemctl enable hostapd.service
reboot again, and then you should be able to use it as usual (i.e. connect to its own wifi access point etc).
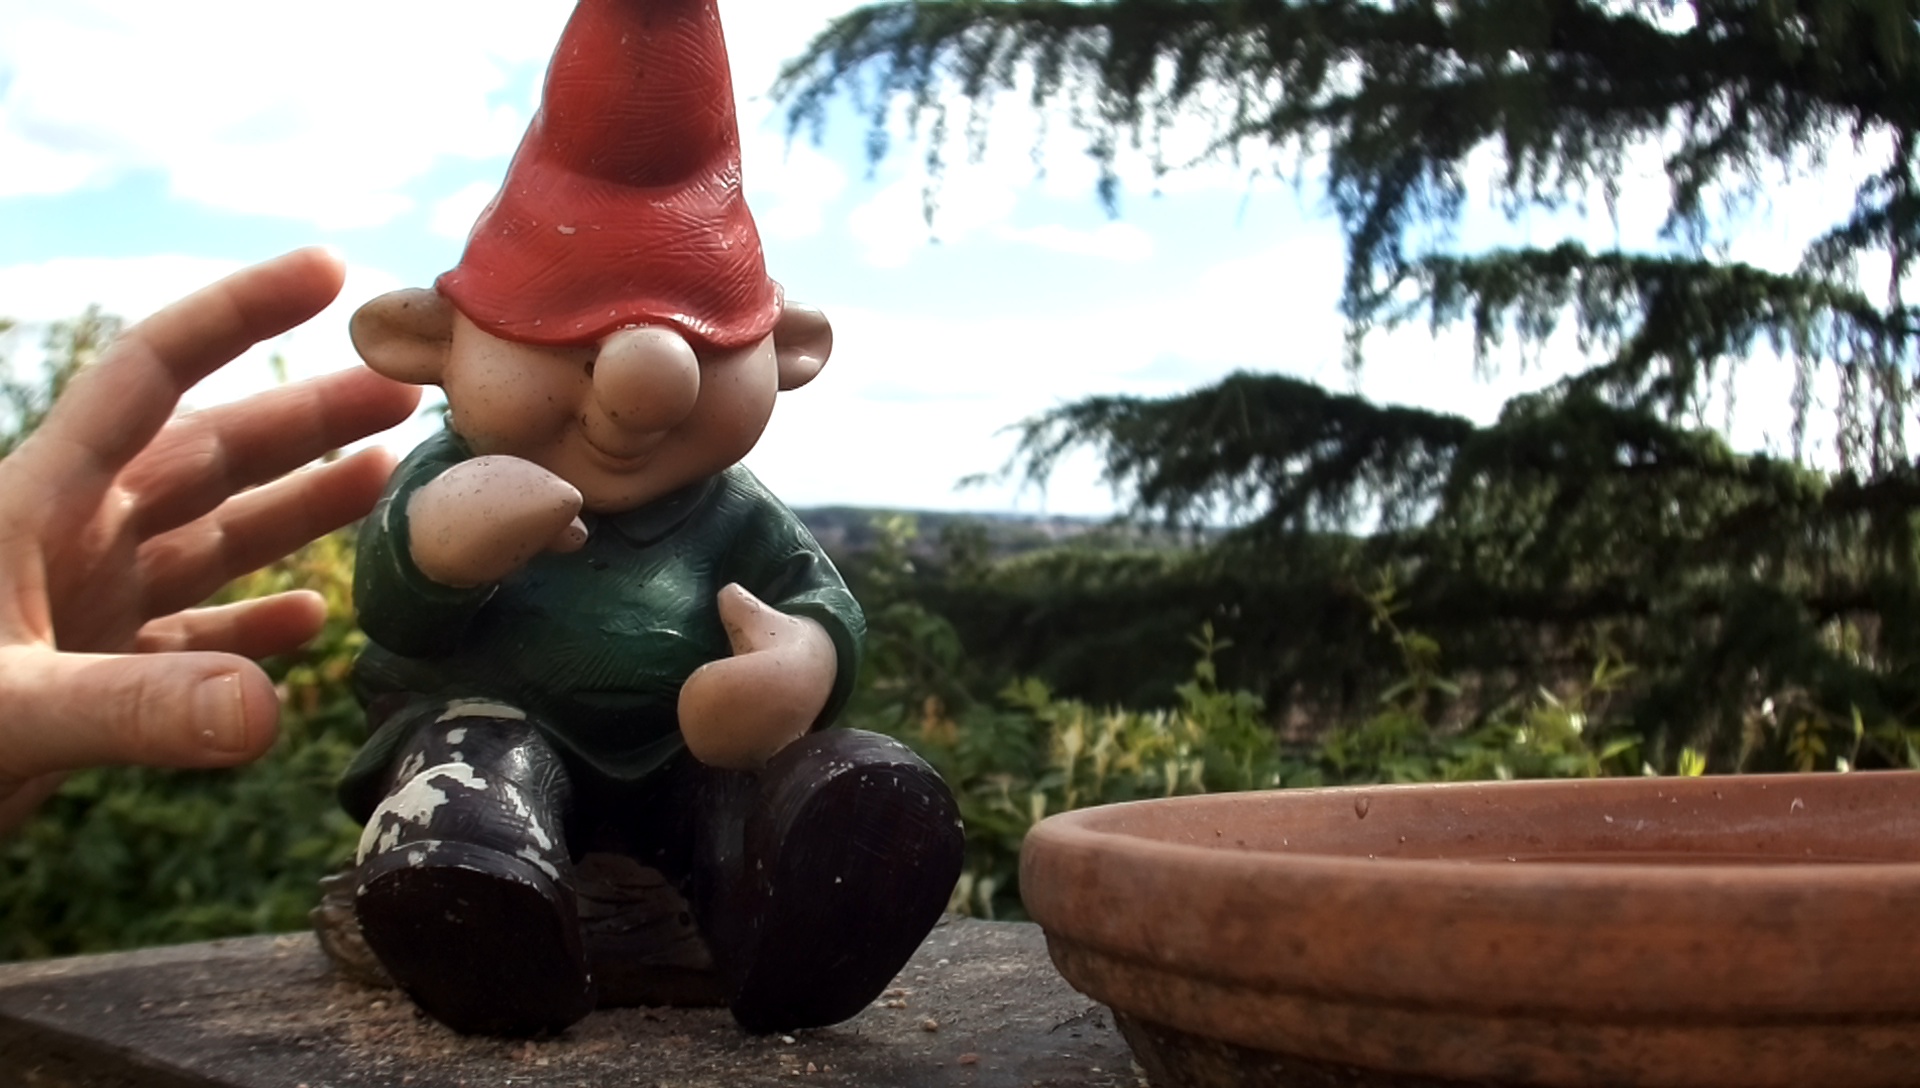
The only fiddly bit after that is adjusting the focus. I used a gnome for that, but still sometimes get it wrong. If you are not used to it, the high quality camera CCTV lens is a bit confusing – it’s possible to lock all the rings so that you can set the focus while it’s in a less awkward position if you like. Here are the instructions for that (pages 9 and 10).