A simple Raspberry Pi-based picture frame using Flickr
I made this Raspberry Pi picture frame - initially with a screen - as a present for my parents for their wedding anniversary. After user testing, I realised that what they really wanted was a tiny version that they could plug into their TV, so I recently made a Pi Zero version to do that.
It uses a Raspberry Pi 3 or Pi Zero with full-screen Chromium. I've used Flickr as a backend: I made a new account and used their handy upload-by-email function (which you can set to make uploads private) so that all members of the family can send pictures to it.
I initially assumed that a good frame would be ambient - stay on the same picture for say, 5 minutes, only update itself once a day, and show the latest pictures in order. But user testing - and specifically an uproarious party where we were all uploading pictures to it and wanted to see them immediately - forced a redesign. It now updates itself every 15 minutes, uses the latest two plus a random sample from all available pictures, shows each picture for 20 seconds, and caches the images to make sure that I don't use up all my parents' bandwidth allowance.
The only tricky technical issue is finding the best part of the picture to display. It will usually be a landscape display (although you could configure a Pi screen to be vertical), so that means you're either going to get a lot of black onscreen or you'll need to figure out a rule of thumb. On a big TV this is maybe less important. I never got amazing results, but I had a play with both heuristics and face detection, and both moderately improved matters.
It's probably not a great deal different to what you'd get in any off the shelf electronic picture frame, but I like it because it's fun and easy to make, configurable and customisable. And you can just plug it into your TV. You could make one for several members of a group or family based on the same set of pictures, too.
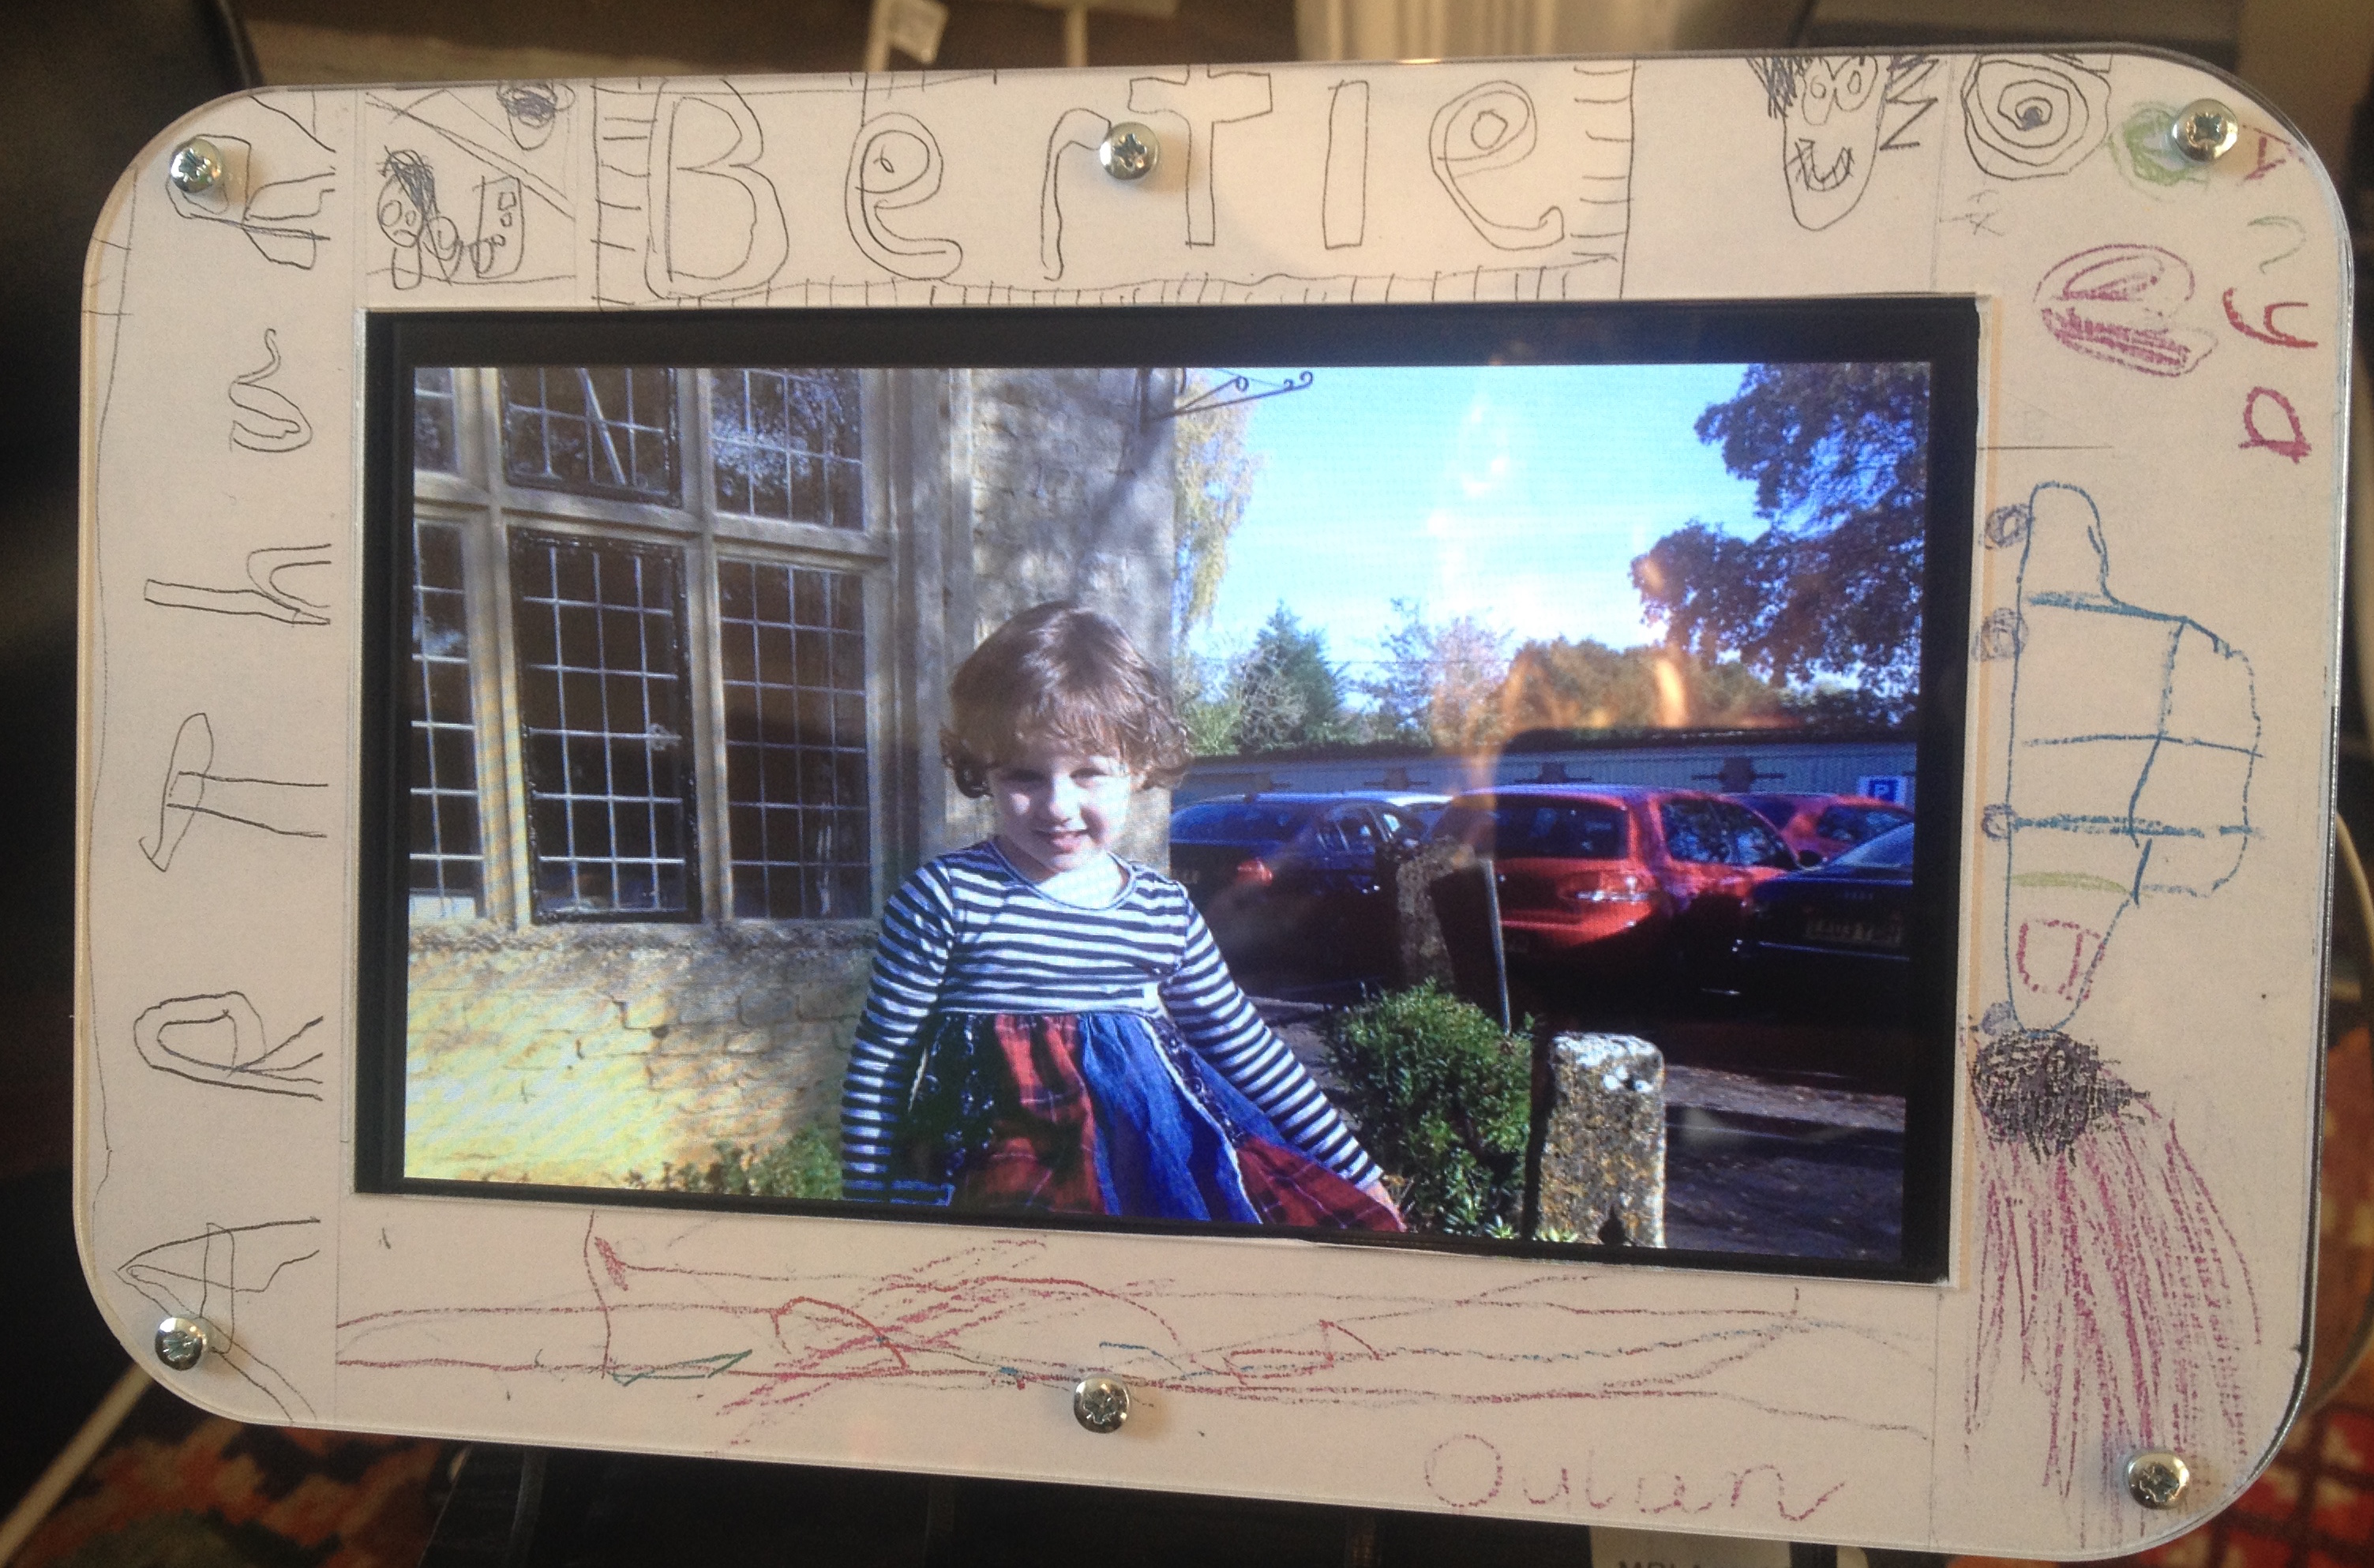
Version 1: Pi3, official touchscreen (you'll need a 2.5A power supply to power them together), 8GB micro SD card, and (if you like) a ModMyPi customisable Pi screen stand.
Version 2: Pi Zero, micro USB converter, USB wifi, mini HDMI converter, HDMI cable, 8GB micro SD card, data micro USB cable, maybe a case.
The Zero can't really manage the face detection, though I'm not convinced it matters much.
It should take < 30 minutes.
The code and installation instructions are here.