Huffduffer Radiodan part 2 - a switch
Update: a step by step how-to is now available.
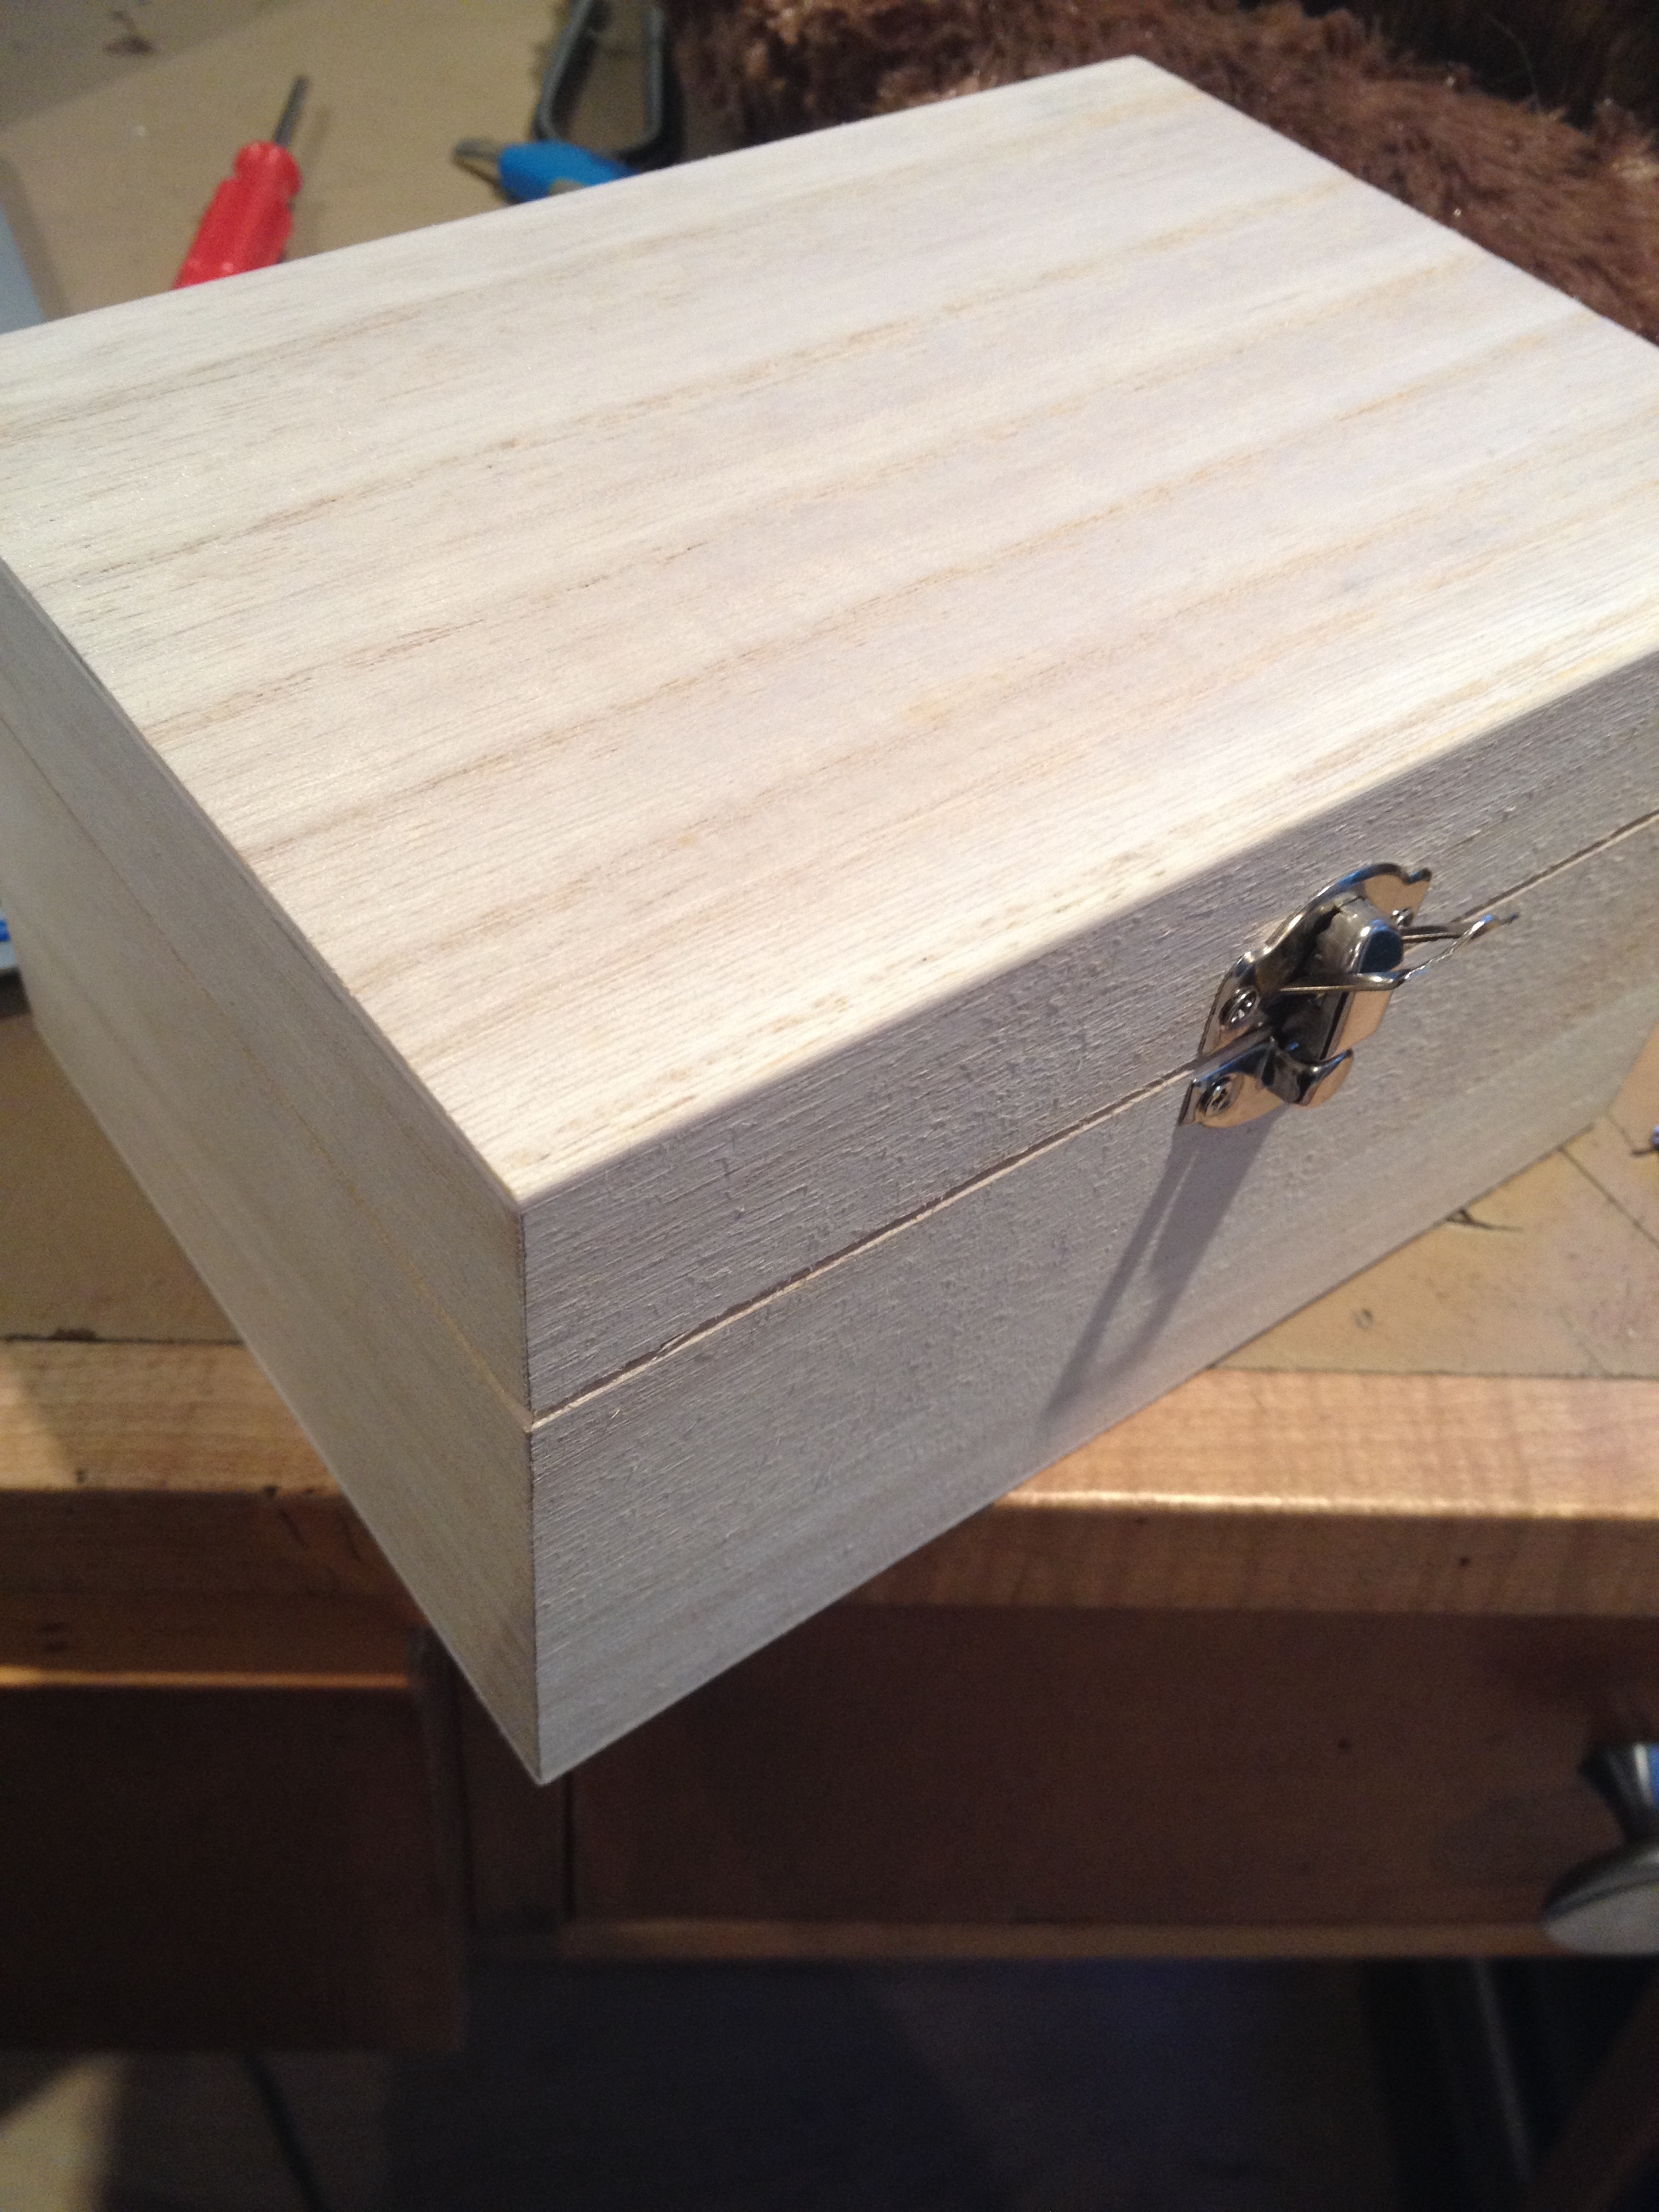
I wanted to make a nice box for the radio, and yesterday bought this jewelry-box-size one from "Craft and More" in Bristol for £5:
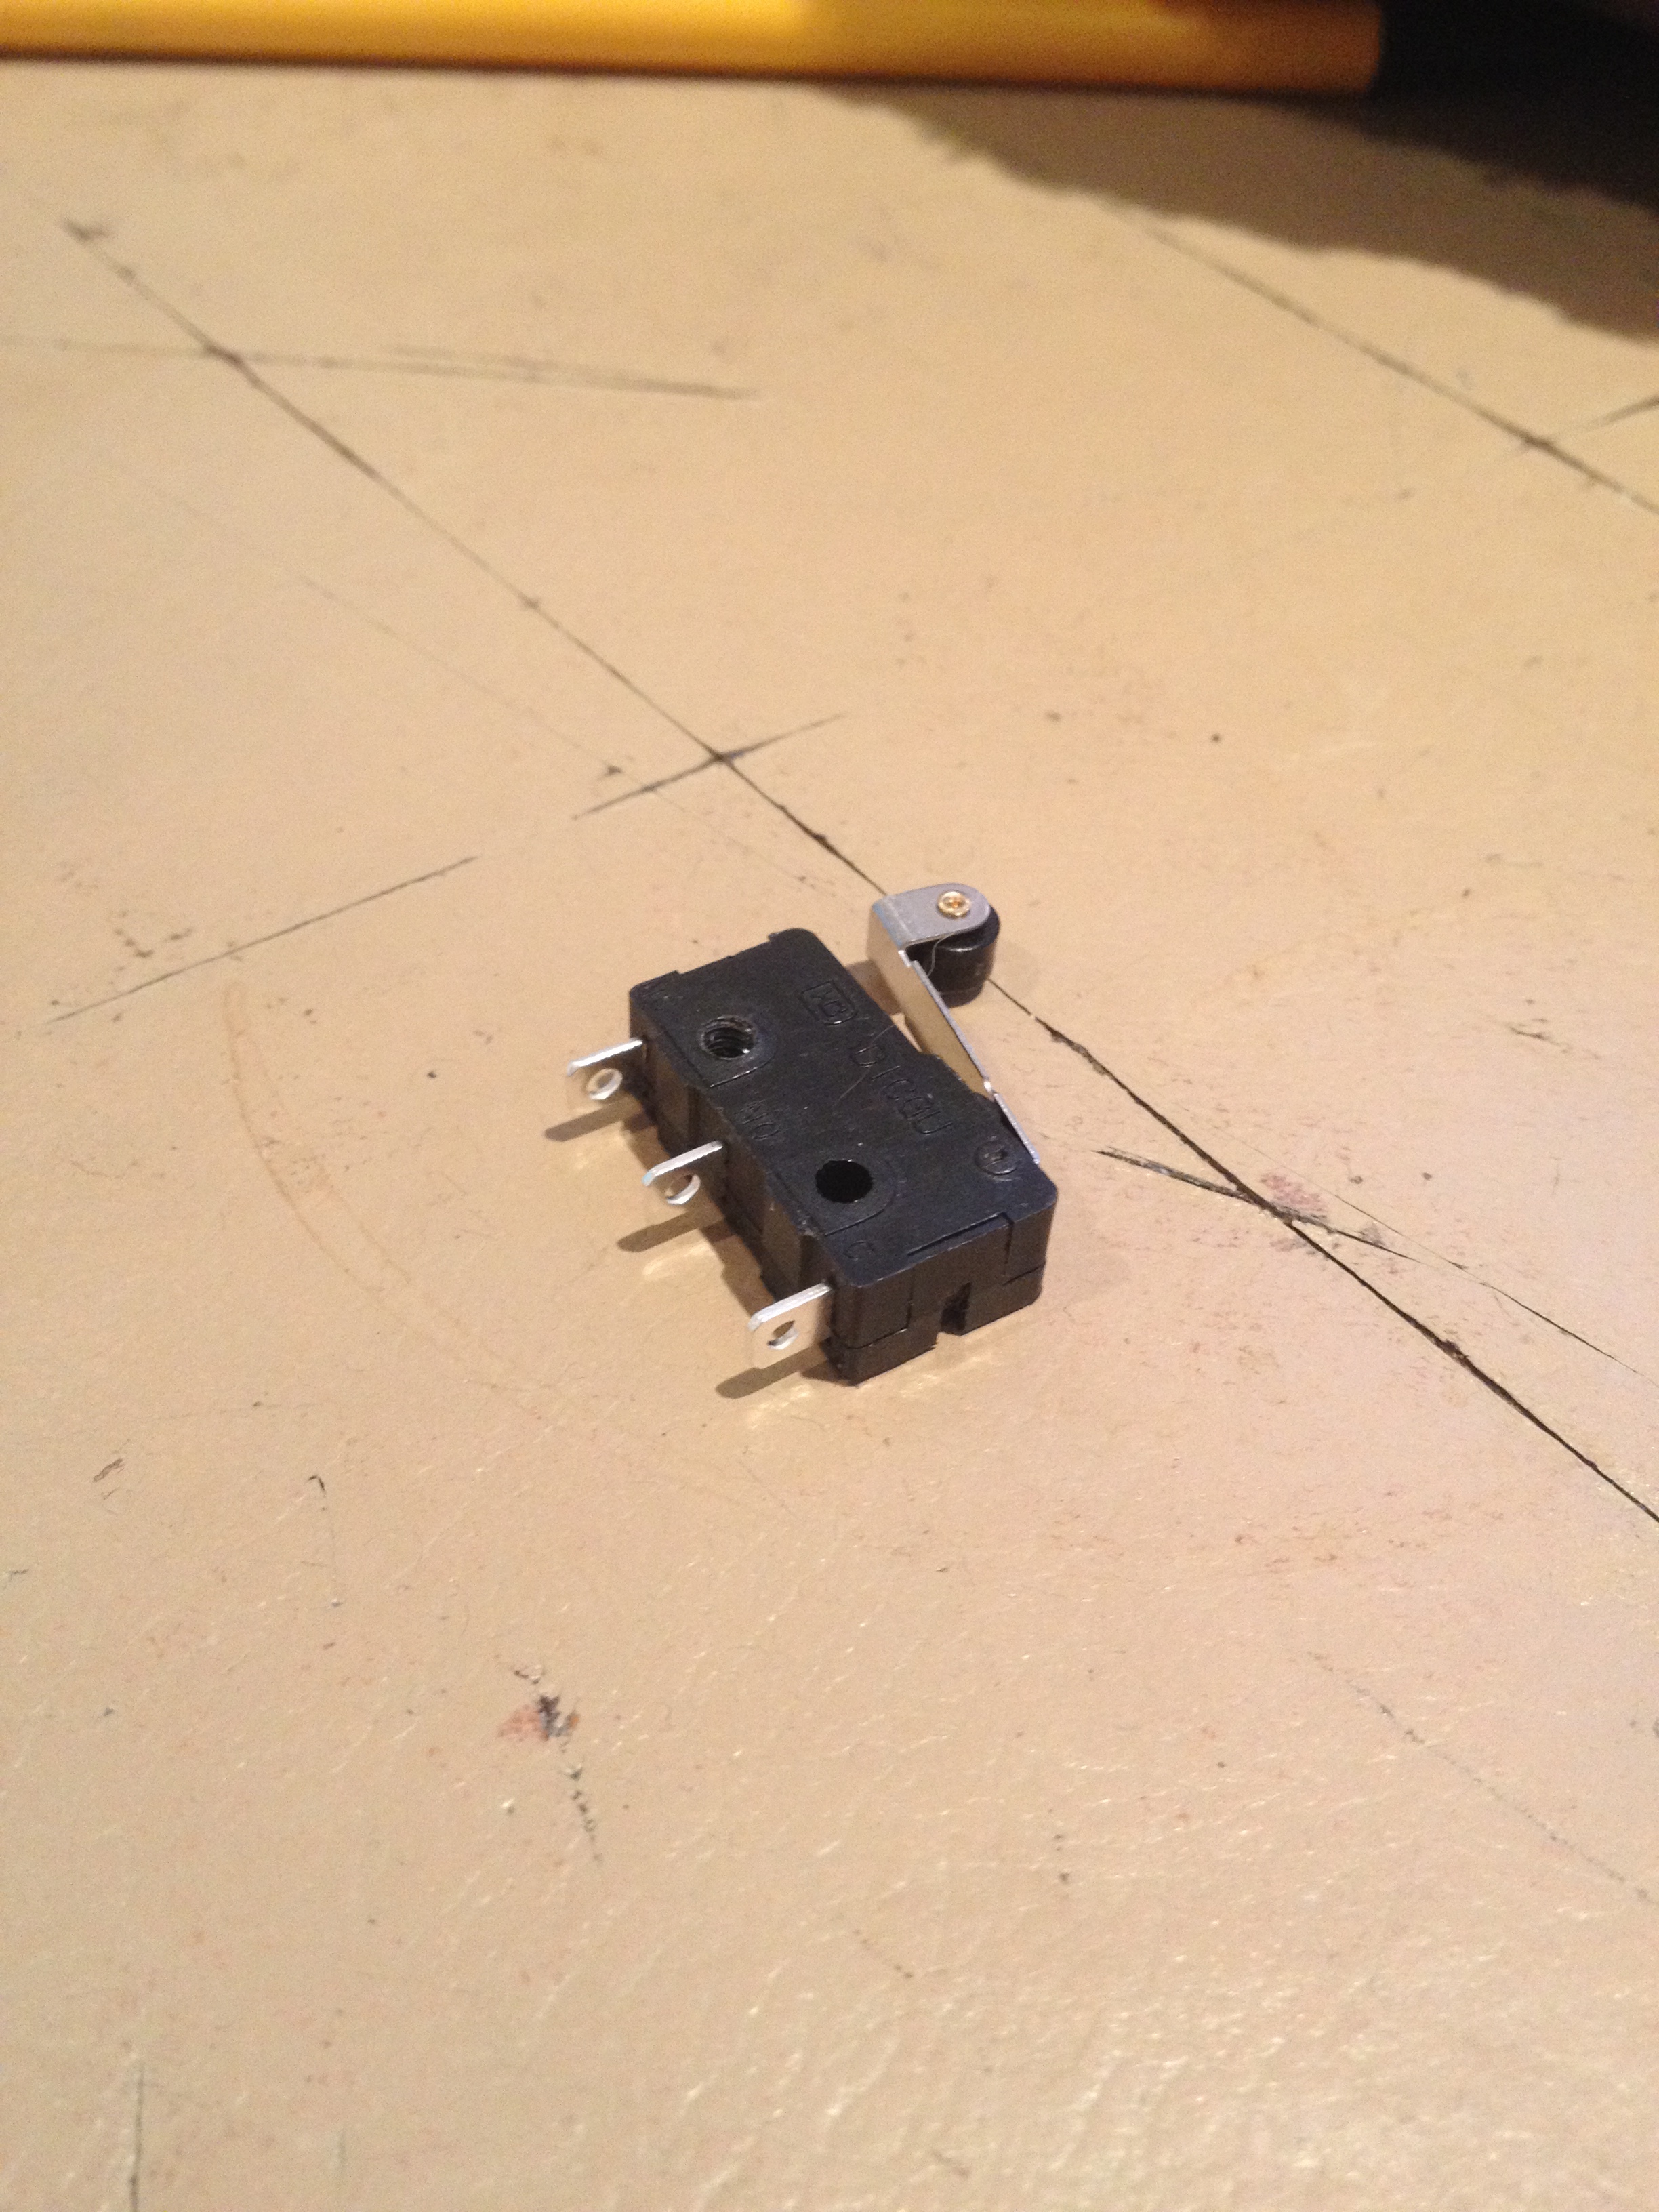
I was thinking at first I would drill a large hole in the top to replicate the current radio design, but then realised I was missing a trick: clearly, when you open the box, the radio should turn on. Damian suggested I use a microswitch - this one was £2 at Maplin:
I'm going to have to rearchitect the whole software side, unless I really make it hacky - I need to put the load commands on the server side not the client side, and that will have to wait, but I figured at least I could test the switch before I hook it up to the Radiodan infrastructure.
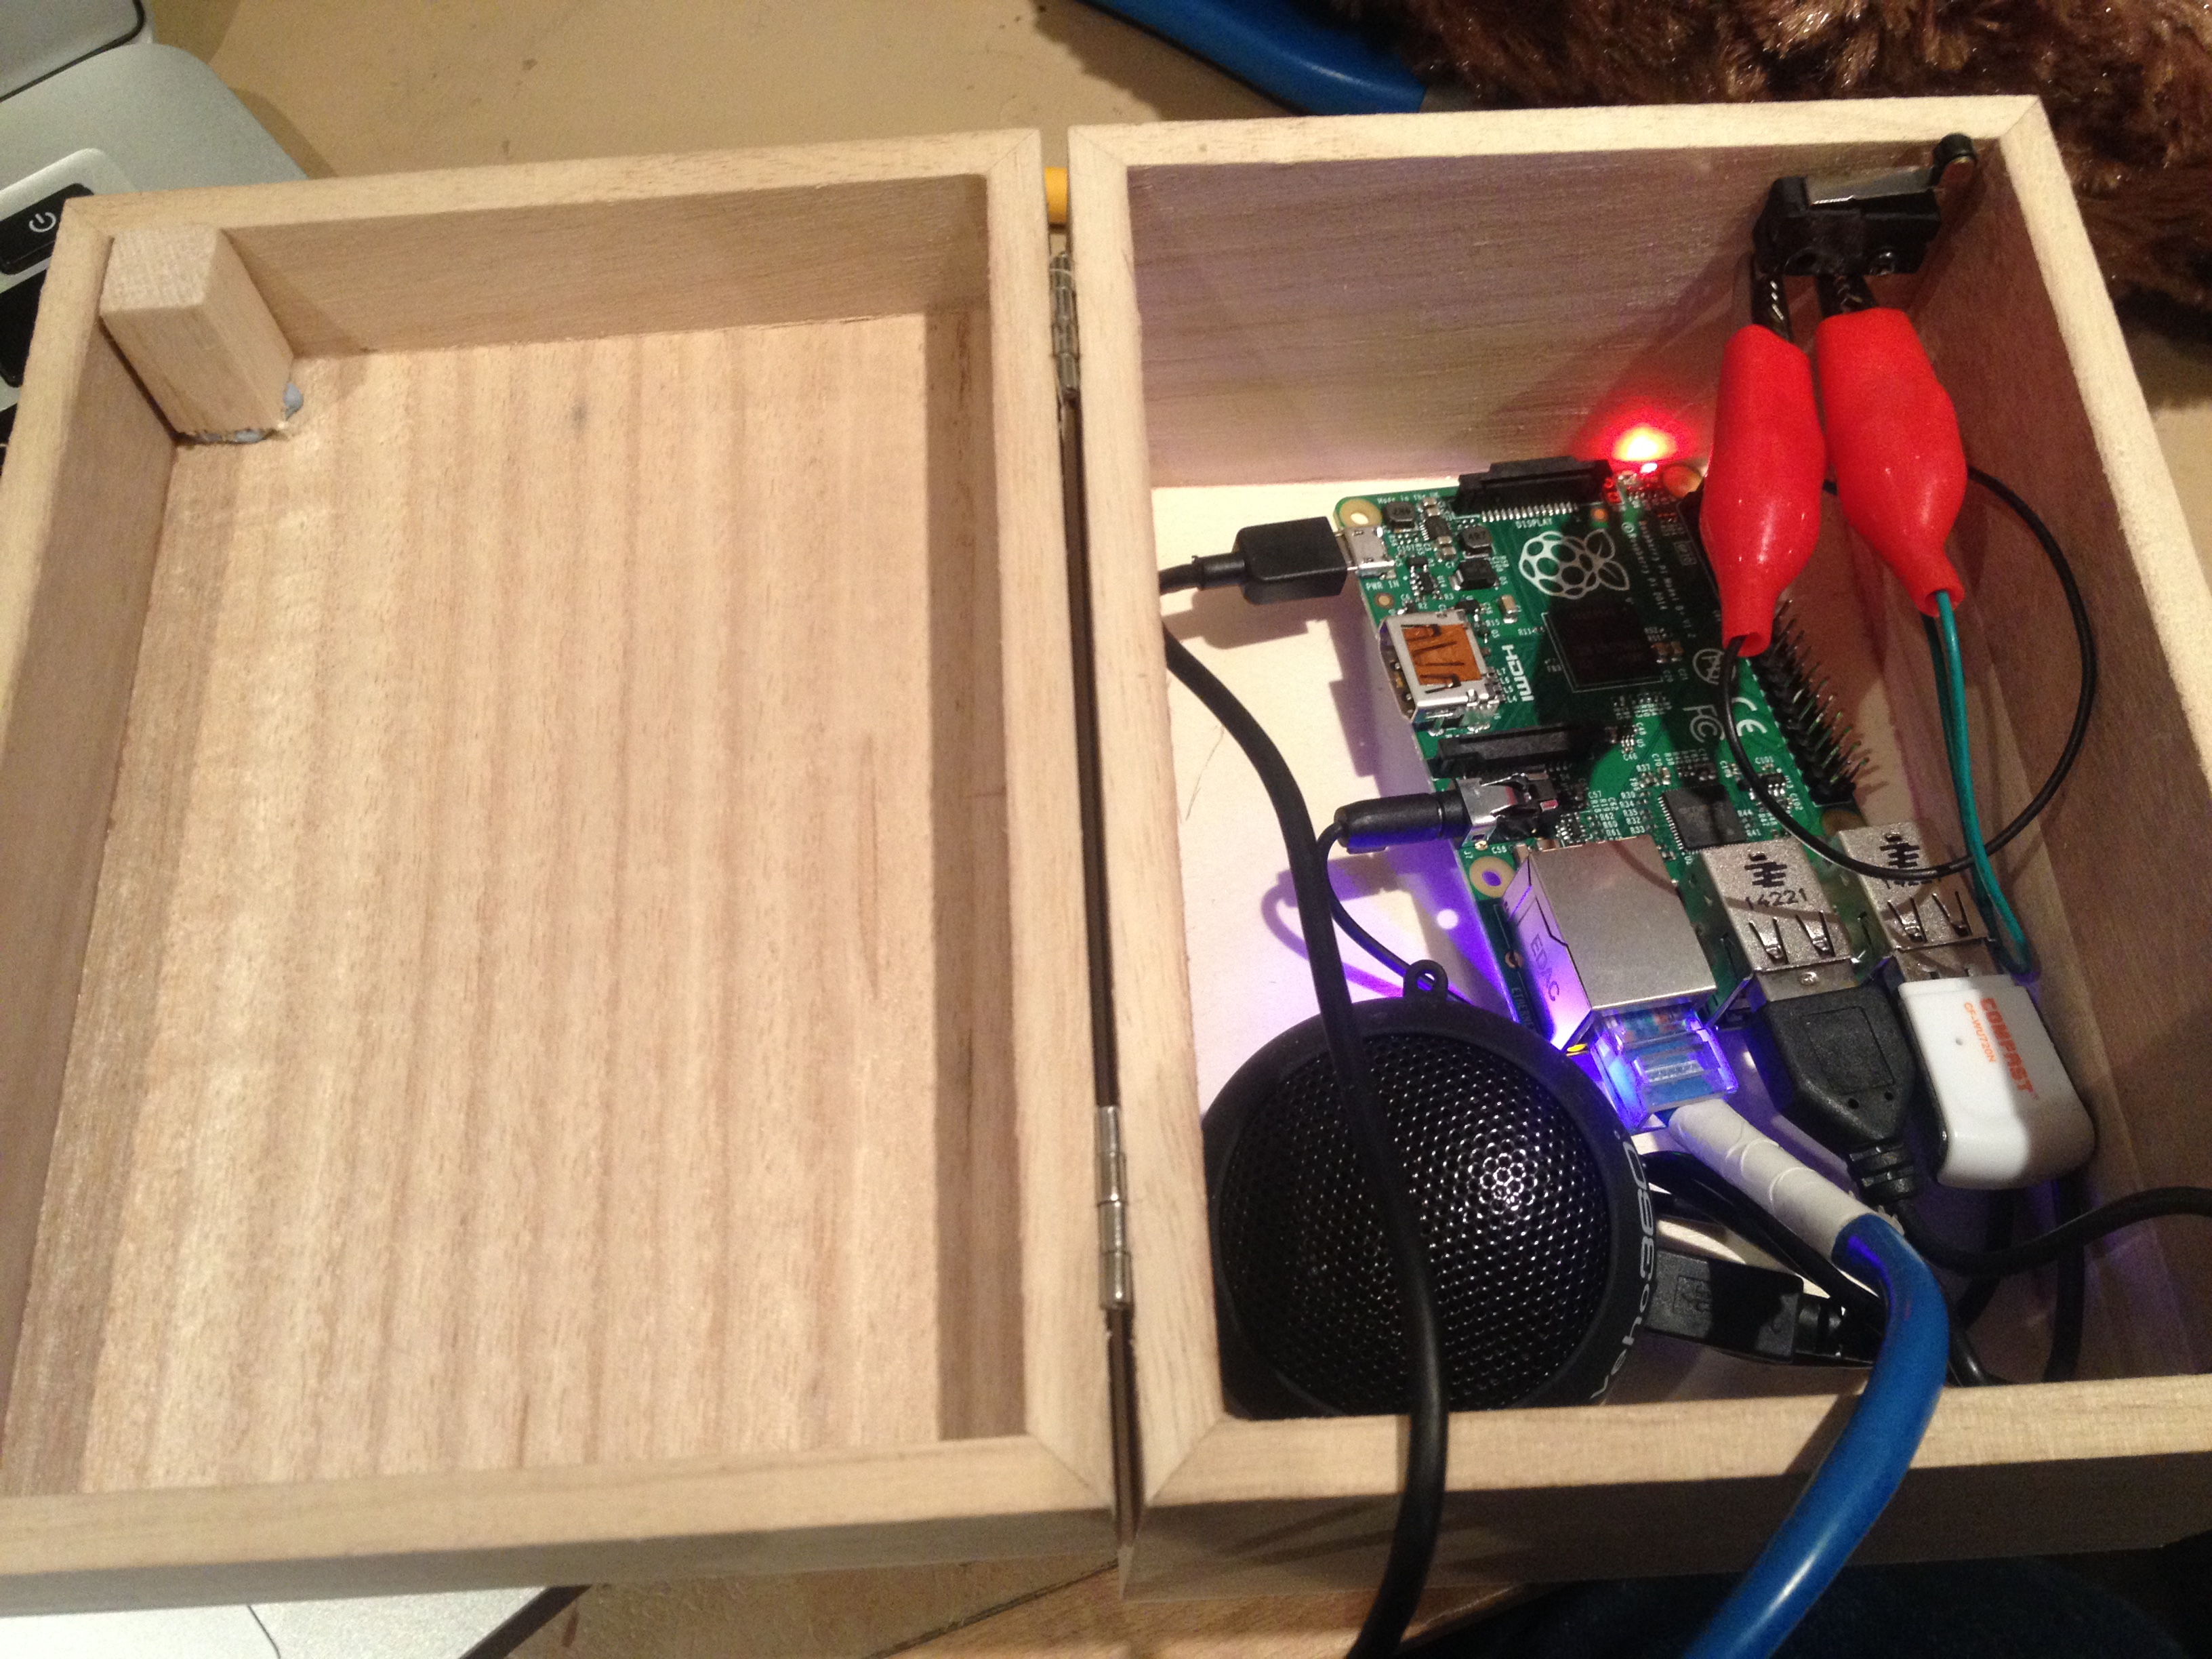
I've temporarily bluetacked a bit of balsa wood into the box, and now I'm going to attach the switch to the GPIO, using these instructions to pin 17 on this diagram (I don't need a pull up resistor as I can use one of the pins with a software pull-up later, I think, anyway, seems to work).
import RPi.GPIO as GPIO

import time
GPIO.setmode(GPIO.BCM)
GPIO.setup(17,GPIO.IN)
#initialise a previous input variable to 0 (assume button not pressed last)
prev_input = 0
while True:
#take a reading
input = GPIO.input(17)
#if the last reading was low and this one high, print
if ((not prev_input) and input):
print("Button pressed")
#update previous input
prev_input = input
#slight pause to debounce
time.sleep(0.05)
sudo python test_button.py
The microswitch has 3 legs, one for ground, one for triggering when open, and one closed. I want the middle one, so that it triggers when open ("NO").
So now I can use a tiny screw I found in a drawer to fix the switch inside:
and I had the wrong corner for the box, initially, and had to squish down my power and ethernet cables to test it, but it works.
Next steps: get it working with the Radiodan GPIO software.


